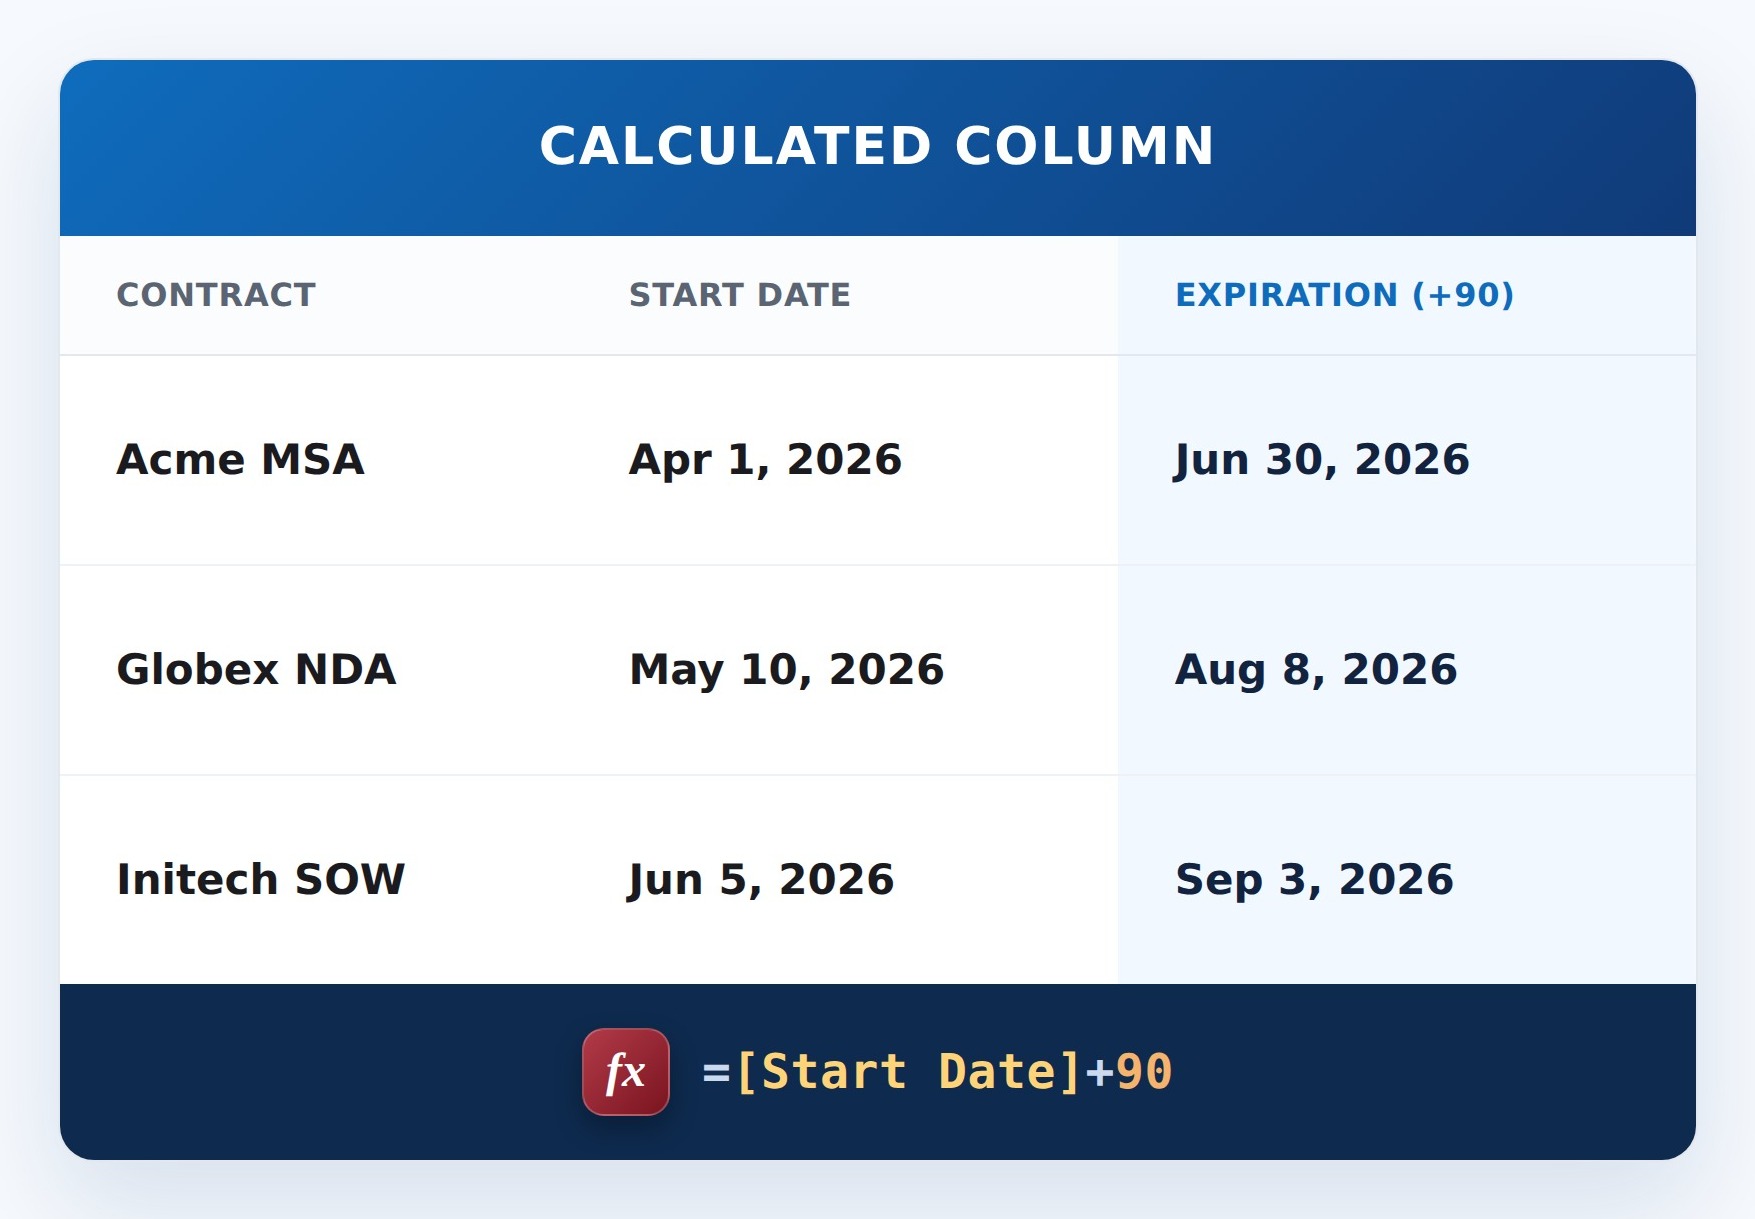
Add Days to a Date (Formula)


How It Works
- What it does: Adds a fixed number of days (90 here) to a Start Date to set an expiration date.
- What you get: A date – a Start Date of 1/1 shows 4/1.
- If a value is missing: If Start Date is blank, the column shows a blank or an error instead of a date.
Common Use Cases
- Certificate or license validity from an issue date
- Warranty windows from a purchase date
- Trial or subscription end dates from a start date
- Follow-up deadlines a set number of days after kickoff
Details
- Formula Type: Calculated Column
- Formula Category: Dates & Time
Required Columns
| Display name | Column type |
|---|---|
| Start Date | Date and Time |
| Add Days to a Date | Calculated |
Prerequisites
- Create the column the formula reads: Start Date
- Add or edit a few items so there is data for the formula to work with
How to Apply the Formula
- Add a column, choose More…, then select Calculated (calculation based on other columns)
- Set the data type returned from this formula to Date and Time
- Paste the formula below into the Formula box
- Click OK to create the column
Formula
=[Start Date]+90Variations
- Expiration date from a start date:
=[Start Date]+90 - Expires 30 days after the last edit:
=[Modified]+30 - Reminder date before a deadline:
=[Due Date]-14 - Any offset you need: change the number of days. 7, 30, 90 and 365 all behave the same way.
Common Questions About Add Days to a Date Formula
What does this formula do?
Expiry based on a start/effective date. It lives in a calculated column, so SharePoint fills the value in automatically for every item.
Which columns do I need to set this up?
You need: Start Date (Date and Time). The formula reads these to produce its result.
Can I change the formula for my own columns?
Yes. Swap the column names in brackets for your own, and adjust any numbers or text.
If LookBook 365 is code-free and out-of-the-box, why does this example use a formula?
A SharePoint formula is native, declarative configuration, not custom development. It only works with the item’s own fields and simple logic – it cannot run scripts, reach external services, or change other data, and nothing is deployed to your tenant. It keeps working through Microsoft updates. If you would rather not set this up yourself, this is exactly the kind of thing I configure for clients.
How do I set an expiration date 30 days after an item is modified?
Use =[Modified]+30. Modified is a built-in column, so there is nothing to create first. The date moves forward each time someone edits the item, which suits review and recertification dates.
Can I count backwards from a date instead?
Yes. Subtract instead of adding. =[Due Date]-14 gives you a reminder date two weeks before the deadline, and the rest of the setup is identical.